Bread in a Bag!
November 2025: Week 1
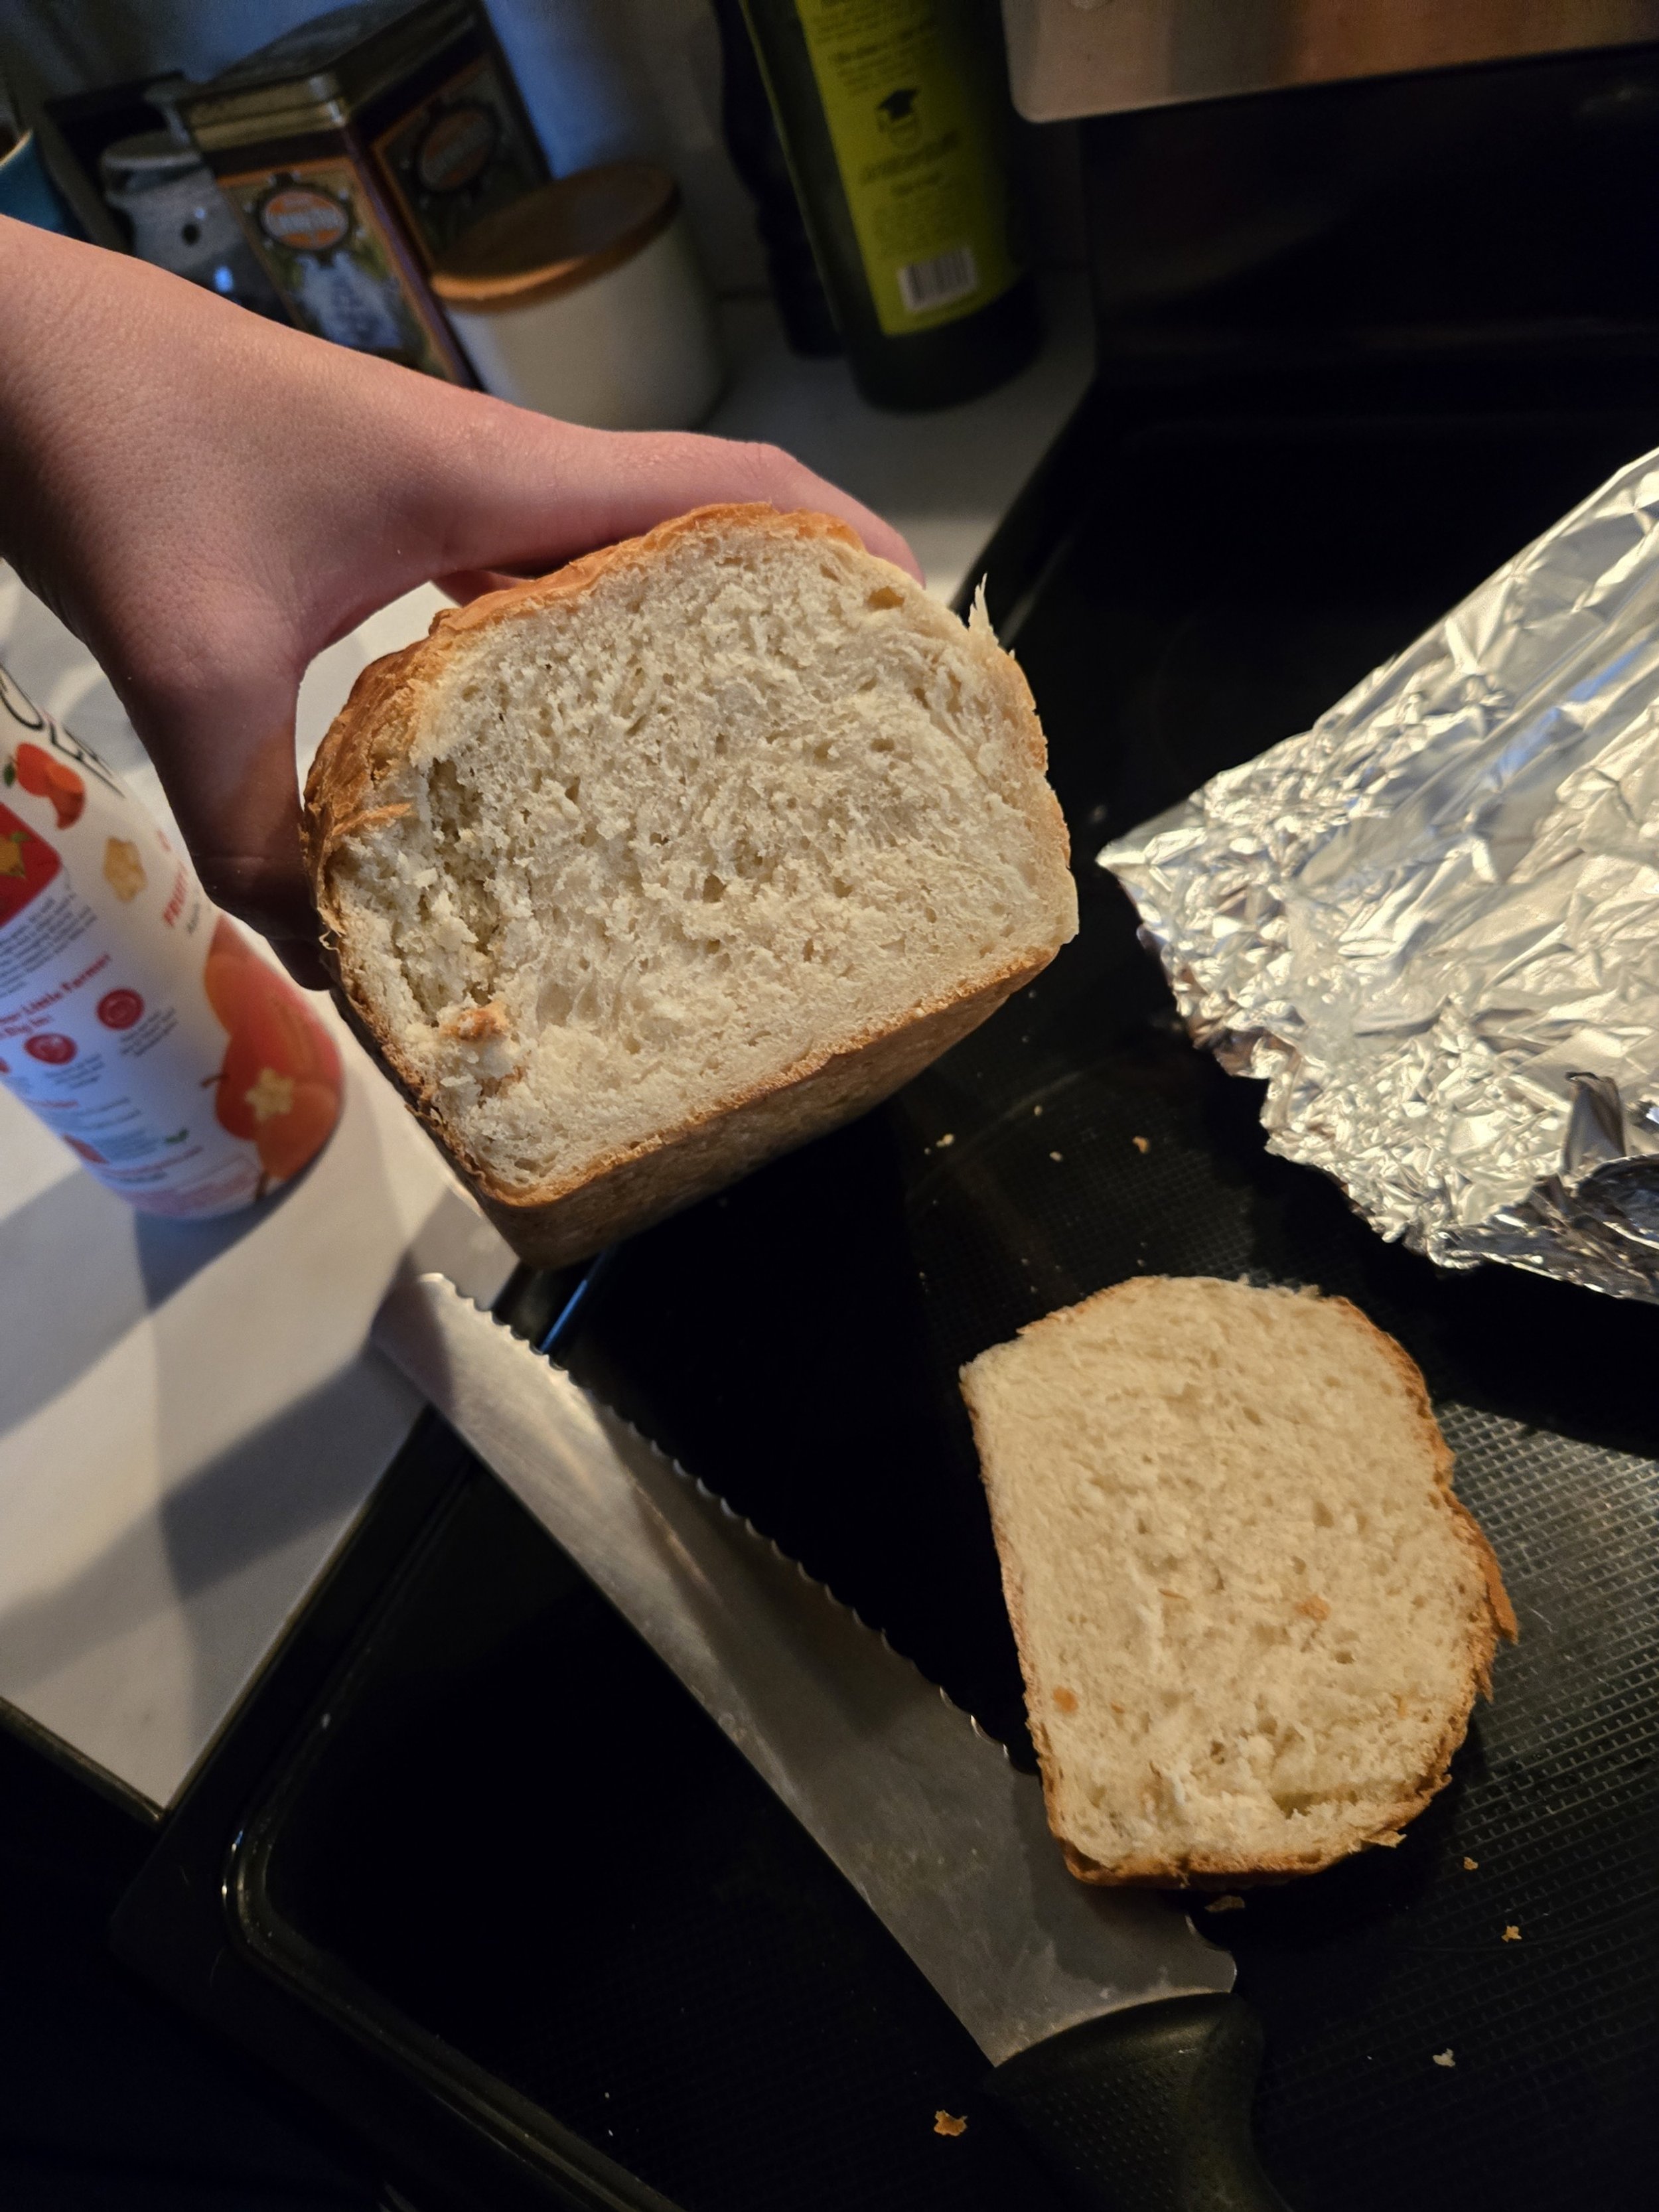
As a bread lover and baker, I really enjoyed sharing this recipe with the group and seeing the kids become little chefs! It was such an easy way to mix and store bread dough, and a great sensory activity! The bread was surprisingly delicious and I think we’ve made it about… 3 or 4 times now in one week? It’s going to be a great winter lesson I know we will have on repeat in our house.
I know I shared the original recipe with you all, but I’ve written it up with the edits I added here for you to save and reference whenever you need!
-Jessi
Miss Jessi’s Bread in a Bag!

Ingredients:
3 cups flour, divided
3 Tablespoons sugar
2 ¼ teaspoons active dry yeast
1 cup warm water (110 to 120 degrees)
3 Tablespoons olive oil
1 ½ teaspoon kosher salt
1 gallon-size freezer bag
Before you begin, fold the top and pinch the bottom corners in, so it makes a “bowl” and stands on its own.
Directions:
In a freezer bag, add 1 cup of flour, sugar and yeast. Seal with air in the bag, and gently shake to mix.
Stand the bag upright back into its “bowl” shape, and open the bag. Pour in the water. Let some air out of the bag and seal it. Squeeze and gently shake the bag to mix until it’s blended. This is your “starter”.
Let the bag sit for about 8-10 minutes, until you see some little bubbles forming.
NOTE: If you do not see any bubbles after 10 minutes, check your yeast to make sure it is still good! To test, add yeast, sugar and warm water to a bowl and mix. Wait to see if there is foam. No foam, no good.
After the bubbles have formed, re-open the bag. Add in olive oil and 1 cup of flour. Seal the bag and mix by gently squeezing and squishing the bag. Be sure not to poke, rip or pop the bag!
Stand the bag up again, open it and add in your last cup of flour and your salt. Seal the bag with no air in it. Knead the bag until the flour is completely incorporated.
NOTE: Your dough may look dry at first - keep on mixin’! The flour will begin to soak up the water, activating the gluten in the dough. If after you have mixed and feel like it’s still too dry, add 1 Tbsp more of water and mix again.
Turn out the dough onto a lightly floured surface and knead it until the dough bounces back easily when pressed, about 5 minutes. To test, gently press the dough with your finger and see if it bounces back or not. If not, keep kneadin’!
IF NOT BAKING IMMEDIATELY: You can store the bread dough in the fridge for up to 3 days. When ready to bake, take it out and let it sit on the counter for about 15 minutes, until the chill is out. Then knead it (Step 6).
Prep your baking dish with nonstick cooking spray or butter and a bit of flour. Then, shape the dough into either a loaf pan, or break it up into equal sized dough balls and place in a muffin tin. Cover with cling wrap and put in a warm area to proof. Allow it to rise until doubled in size, about 1 hour (depending on the temp in the kitchen).
Preheat your oven to 375 degrees F, and bake the bread for 30 minutes (loaf) 20 minutes (muffins) or until golden brown.
Cool in the baking pan for 10 minutes before flipping it out onto a wire cooling rack.
Enjoy!